
How to Choose Cluster Lash Lengths for a Natural Everyday Look
When a DIY cluster lash set looks effortless, length is usually doing the quiet work. The difference between 8mm, 10mm, 12mm, and 14mm is not a rulebook for your face; it is a way to build proportion. A well-chosen cluster lash length map can add soft definition without making your eyes feel hidden behind the lashes.
If you want a natural everyday finish, think in small steps. Start short at the inner corner, create a gentle rise where you want the eye to feel most open, then taper with intention. This guide explains how to choose cluster lash lengths and gives you a simple, flexible map to try at home.
What Do Cluster Lash Lengths Mean?
The millimeter number describes the approximate length of the lash fiber from base to tip. A shorter length reads closer to your natural lash line; a longer length creates more visible lift and presence. But millimeters are only one piece of the finished effect. Curl, fiber density, the width of each cluster, your own lashes, and placement all change how a length looks once it is on.
That is why an 12mm cluster can look polished and everyday on one person yet more noticeable on another. Rather than chasing a single “best” length, choose a range that gives you room to create a smooth transition. The active Fulluxy Single Length Lashes collection is especially useful when you want to build a map one section at a time.
A Simple Natural Lash Length Guide
For many DIY lash lovers, these ranges are an easy starting point:
- 8mm: a light inner-corner choice or a subtle full-eye look.
- 10mm: soft everyday definition through the inner and middle sections.
- 12mm: a gentle point of lift for a natural open-eye finish.
- 14mm: a more noticeable outer-third accent when you want soft glam rather than barely-there lashes.
- 16mm and beyond: a bolder option that can be beautiful for events, but is not required for an everyday map.
There is no need to use every length in a tray. A natural set often looks most cohesive with two or three neighboring lengths. If you are new to mapping, start smaller than you think, then add length only after you check the shape from the front.
Try This Natural Everyday Cluster Lash Map
Use this relaxed graduation as a first experiment: 8mm – 10mm – 10mm – 12mm – 12mm – 10mm. Read it from the inner corner toward the outer corner, adjusting the number of clusters to your eye width and the cluster size you are using.
The short inner section keeps the eye area light. Repeating 10mm creates a believable transition, while the two 12mm sections provide a soft lift without making the outer corner heavy. Returning to 10mm at the edge helps the map taper gently instead of dropping downward.
Want a little more elongation? Try 8mm – 10mm – 10mm – 12mm – 12mm – 12mm, but pause before adding the final outermost piece. Look straight ahead in a mirror. If the outer corner already feels balanced, you have your answer. A flattering map is about placement, not filling every possible space.
For a Soft Open-Eye Effect
Keep the longest length near the middle or just past it rather than at the far outer edge. A gentle map such as 8mm – 10mm – 12mm – 12mm – 10mm creates visible height through the center while leaving both corners airy. This can be a lovely choice when you want lashes to feel fresh for daytime makeup.
For Low-Commitment Definition
Use one or two lengths only. An 8mm-and-10mm map can make the lash line look more defined while staying close to a minimal-makeup mood. The Fulluxy Curve Single Length Lash Clusters are an active option with 8mm through 16mm variants, so you can begin with a compact range and customize from there.
Choose Length by Your Styling Goal, Not a Fixed Rule
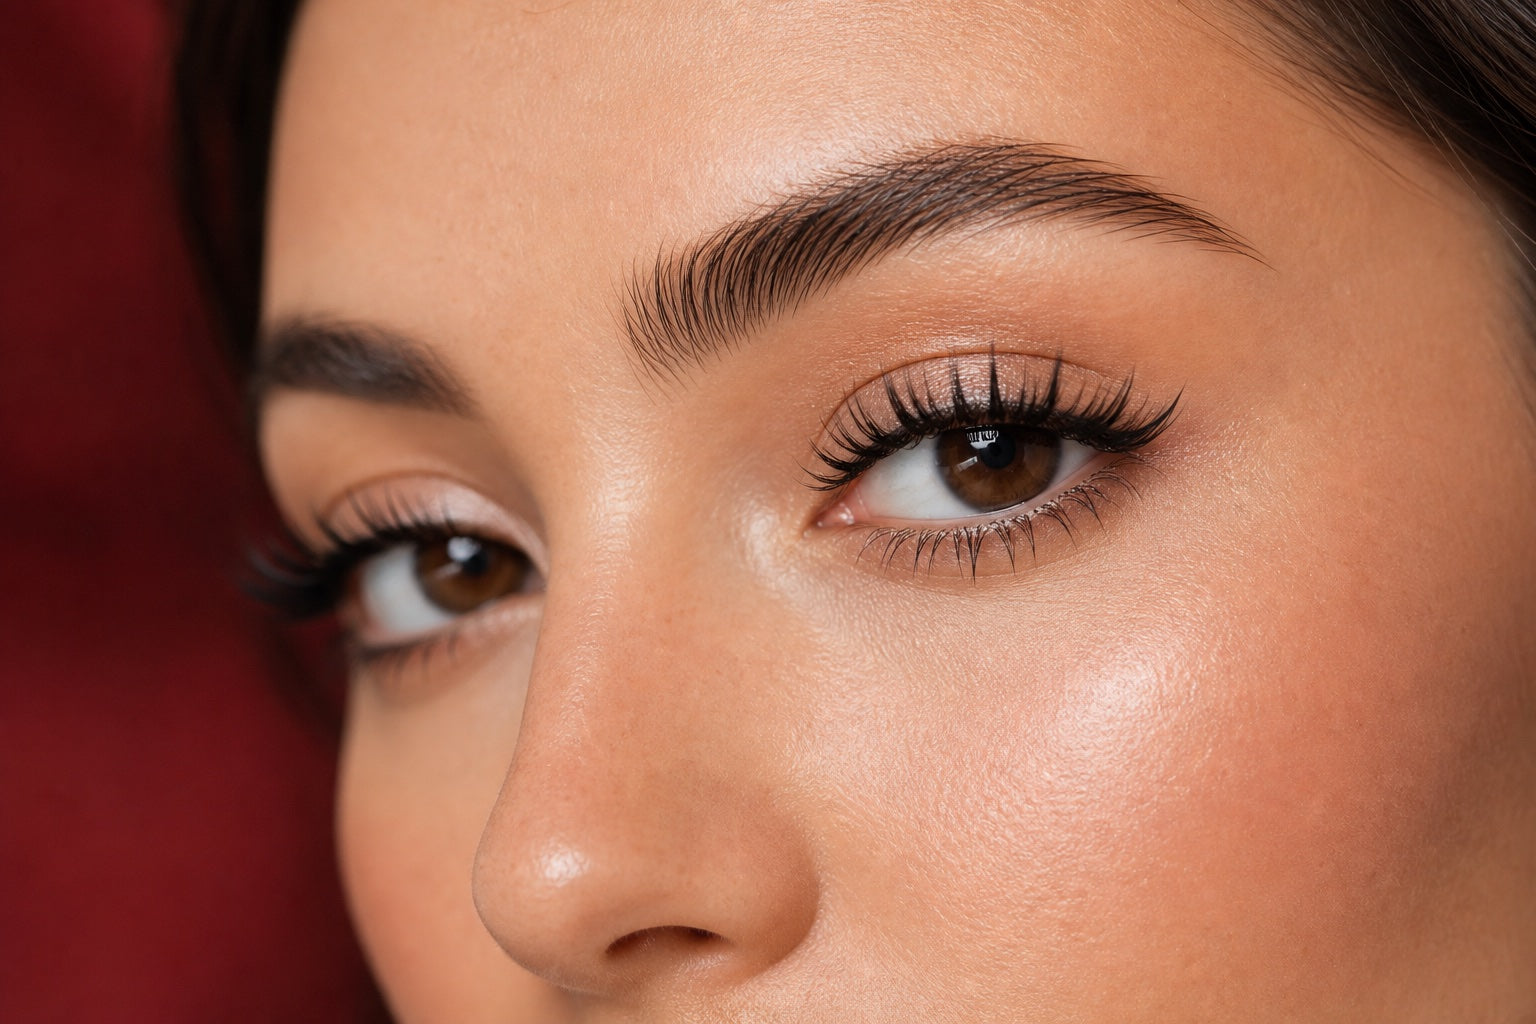
Natural is a feeling, not a number. A natural-looking cluster lash map usually has gradual changes, a lighter inner corner, and enough space to keep the lash line from feeling crowded. Your own preferred makeup matters, too. Someone who wears winged liner every day may find 12mm perfectly subtle; someone who usually skips eye makeup may prefer 8mm and 10mm.
Use the mirror test. After placing a small section, look forward—not down at the work. Ask: Does the lash line still feel comfortable? Is the inner corner light? Does the outer edge look lifted or weighted? Make one adjustment at a time. This is the benefit of clusters: you can edit the map without replacing a whole strip.
If your goal is softness over drama, browse the verified Natural Lash Collection. If you already know you enjoy building every section yourself, single-length clusters give you the most control over the final gradient.
How to Keep a Natural Map Balanced
Lay out your cluster sequence before opening the Bond. Seeing the lengths side by side makes abrupt jumps easier to catch. A difference of two millimeters usually creates a smoother transition than moving from a short inner piece straight to the longest cluster in the tray.
Use a light hand with adhesive and follow the directions for your exact system. Fulluxy’s active Bond & Seal collection is there when you need a coordinated application step, while the cluster lash application guide walks through prep, placement, pressing, and sealing.
Place clusters slightly away from the waterline rather than on it. Keep your hands and tools clean, and do a patch test according to the product directions. The FDA notes that false eyelashes and their adhesives are cosmetics and recommends checking ingredients, keeping eye cosmetics clean, and stopping use if irritation occurs. Read its eye cosmetic safety guidance for more detail.
If placement feels sharp, pinchy, or persistently uncomfortable, remove the set rather than trying to wear through it. For removal, use the product as directed and let it soften the bond; never pull clusters from your natural lashes. Keep a compatible option ready from the verified Fulluxy Remover collection. If discomfort continues, stop use and consult a qualified professional.
Common Length-Mapping Mistakes
- Starting too long at the inner corner: this can make the map look heavy or feel distracting.
- Making abrupt jumps: a gradual sequence usually looks more intentional.
- Putting the longest cluster at the extreme edge automatically: check your natural outer corner first; a slight taper can look more lifted.
- Building volume before checking balance: finish a light map, view it from the front, then add only where needed.
- Forgetting comfort: the most elegant lash map is never worth an uncomfortable fit.
Cluster Lash Length FAQs
What cluster lash length looks most natural?
For many people, 8mm to 12mm creates an approachable natural range. The best choice depends on your natural lashes, curl, density, and how much definition you want. Begin with neighboring lengths, then refine after you see the map from the front.
Should I use the same length across my whole eye?
You can, especially for a minimal look. Mixing two or three close lengths often creates a softer transition, though. Keep the inner corner light and make changes gradually.
Where should the longest cluster go?
For an open-eye effect, place it around the center or outer-middle. For gentle elongation, move it toward the outer third, then consider tapering at the final edge. Try a small section first and judge the balance with your eyes open.
Can beginners use single-length cluster lashes?
Yes. They can be a practical way to learn mapping because every choice is intentional. Start with a simple two- or three-length plan, follow the product directions, and keep the first set light enough to adjust.
Build Your Map, Your Way
Cluster lash lengths are tools, not limits. Start with a soft 8mm-to-12mm progression, keep the inner corner light, and let your mirror—not a rigid formula—guide the final edit. Explore Fulluxy’s single-length options, choose the lashes that fit your mood, and make your everyday look feel considered.
Go Full. Feel Luxy.

Hinterlasse einen Kommentar
Diese Website ist durch hCaptcha geschützt und es gelten die allgemeinen Geschäftsbedingungen und Datenschutzbestimmungen von hCaptcha.