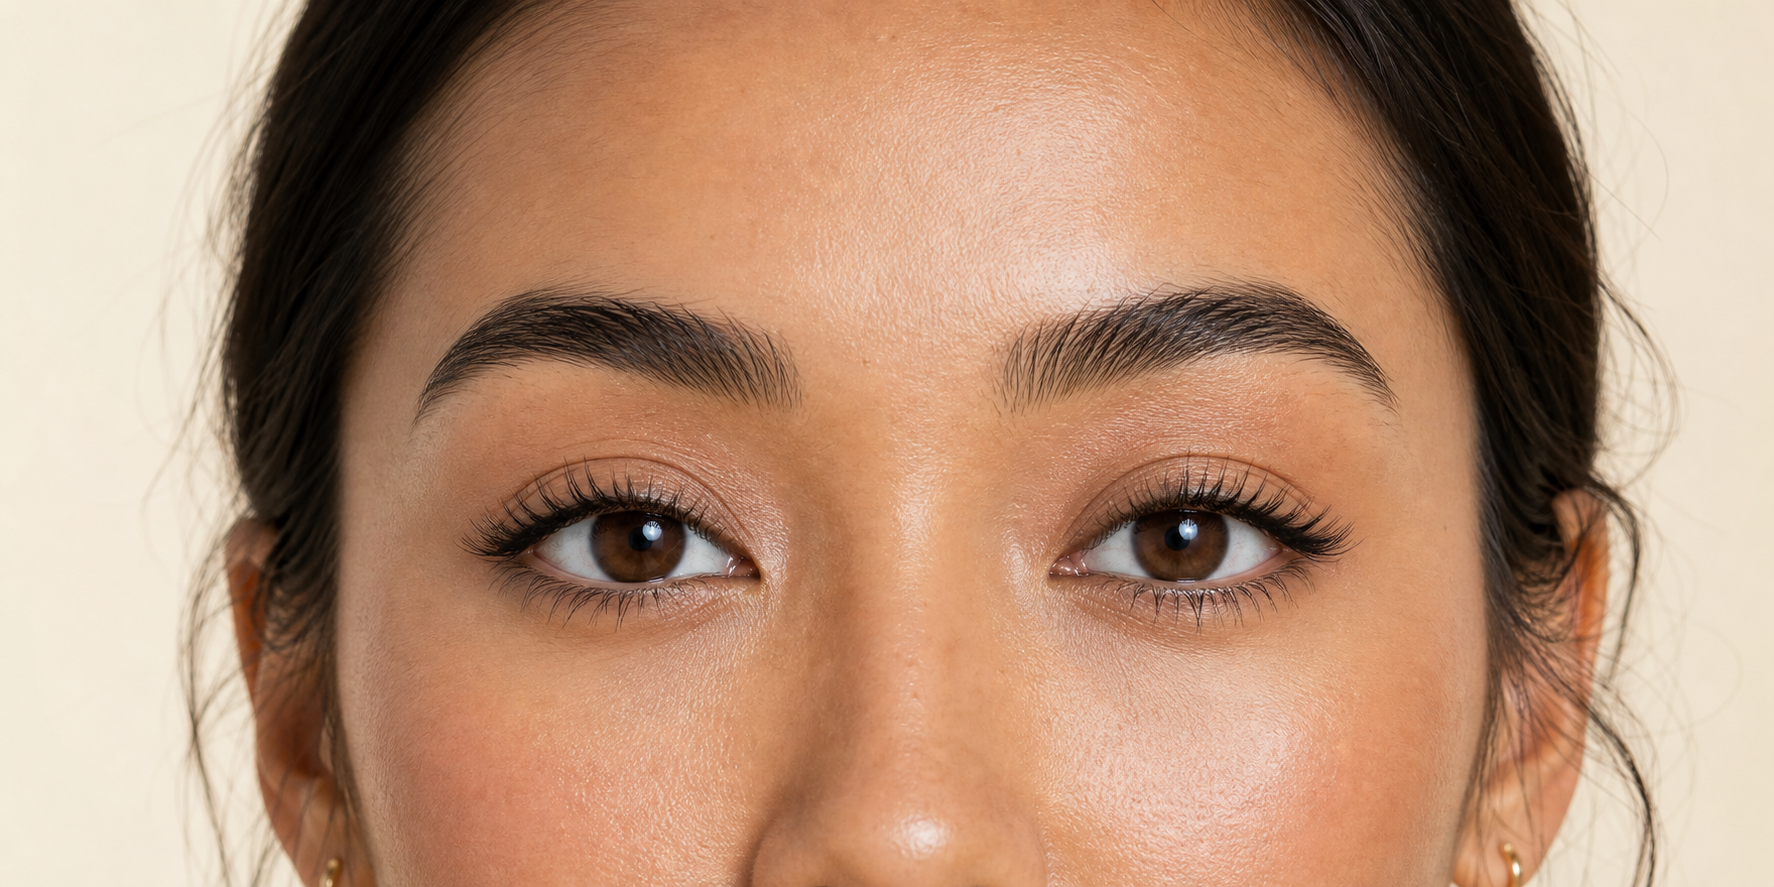
Article: How to Apply Cluster Lashes at Home: A Beginner-Friendly Guide
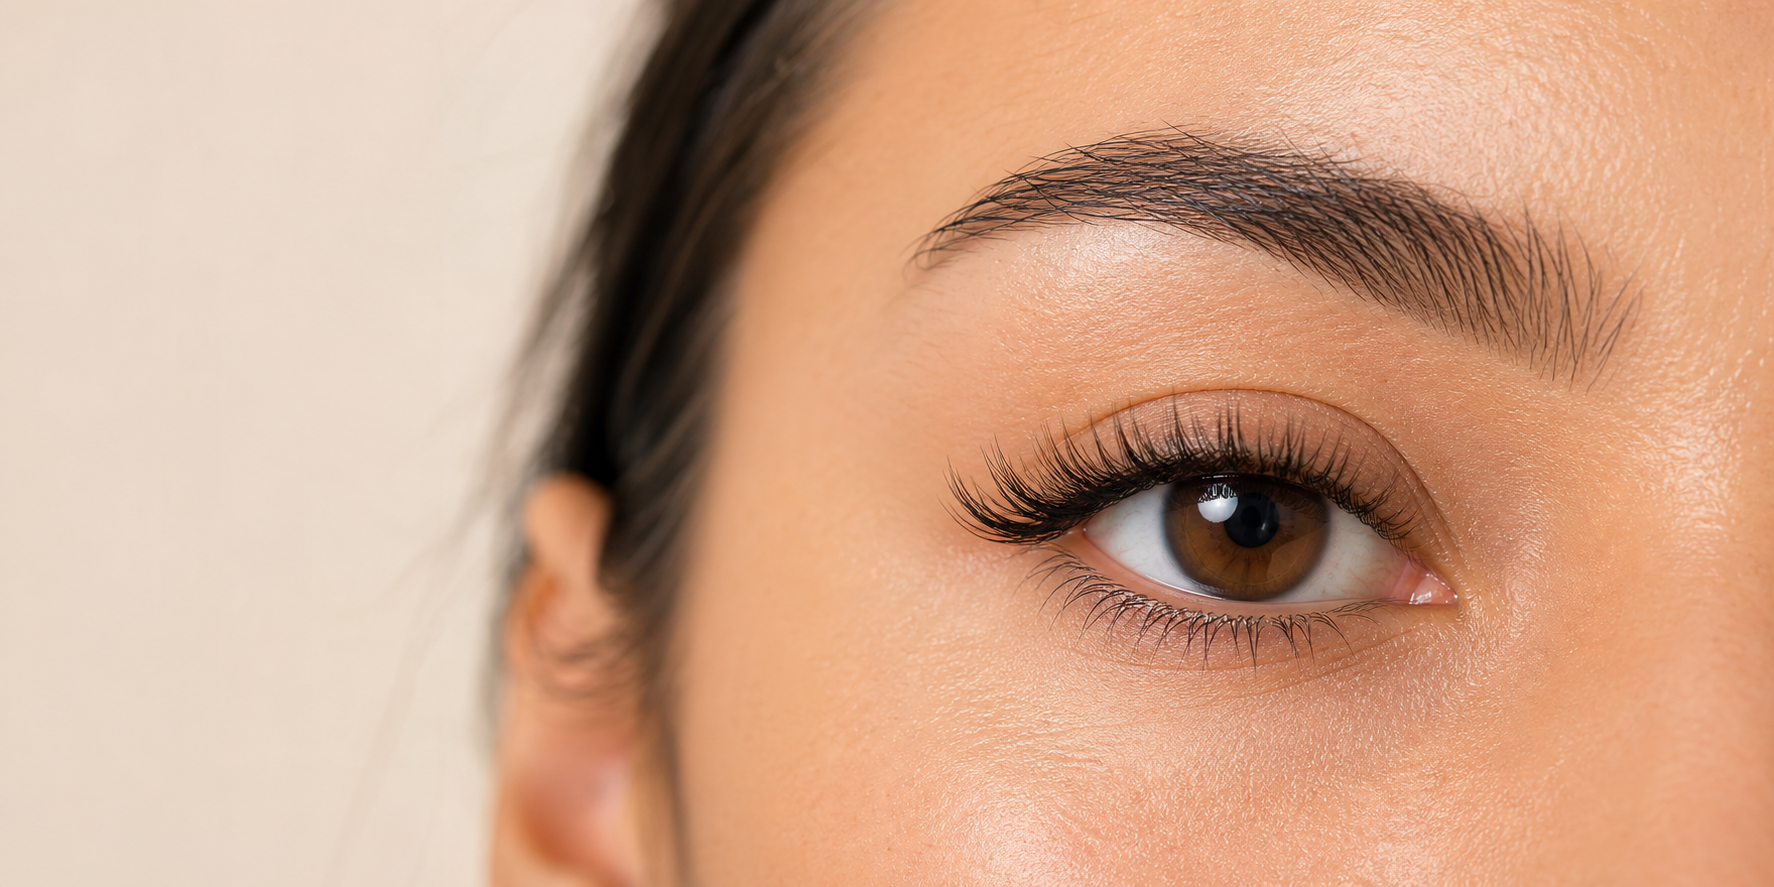
How to Apply Cluster Lashes at Home: A Beginner-Friendly Guide
Soft definition. Fluffy volume. A little extra lift. With cluster lashes, you can build a look that fits your eyes, your mood, and your moment—without committing to one fixed strip-lash shape.
New to DIY lashes? This guide explains how to apply cluster lashes at home, from choosing a lash map to sealing your finished look and removing it gently. Take your time, use a light touch, and let every cluster work with your natural eye shape.
What Are Cluster Lashes?
Cluster lashes are small sections of false lashes that you place one by one. Because each cluster covers only part of the lash line, you can adjust the length, volume, and placement more precisely than you can with a full strip lash.
Choose mixed lengths when you want an easy, ready-to-map tray. Choose single length lash clusters when you want more control over every section of your lash map. If you already have your application tools, you can also explore lash-only cluster lashes.
What You Need to Apply Cluster Lashes
- Clean, completely dry natural lashes
- A tray of cluster lashes in your preferred lengths
- Lash Bond & Seal
- A precision lash applicator or curved tweezers
- A clean mirror with good lighting
- A dedicated lash remover for gentle removal
If you are starting from zero, a complete DIY cluster lash kit keeps the essentials together so you can prep, place, seal, and remove with one coordinated system.
Before your first application: Patch test the Bond for 24 hours as directed on Fulluxy product pages. Do not apply to irritated or broken skin. Keep Bond, Seal, and Remover out of the eye, and stop wearing the clusters if you experience irritation or persistent discomfort.
Choose Your Lash Look Before You Apply
The easiest application starts with a clear plan. Think about the finish you want before the Bond comes out.
- Soft and everyday: Start with natural cluster lashes in shorter, softly graduated lengths.
- Warm and understated: Explore the brown, barely-there styles in the Bare Muse Collection.
- Wispy and dimensional: Try the layered texture of the Prism Veil Collection.
- Full and fluffy: Choose glam cluster lashes for visible volume and a bolder finish.
- Plush and dramatic: Build deeper volume with the Plush Enigma Collection.
- Graphic and spiked: Make the lash line the focus with the Frame Break Collection.
- Playful and doll-eyed: Place longer pieces near the center with Manga lashes.
- Petite and polished: Browse short cluster lashes for a more compact map.
Still deciding? Use Fulluxy’s best-selling lash looks as a starting point, then choose the shape that feels most like you.
How to Apply Cluster Lashes Step by Step
1. Prep Your Natural Lashes
Remove eye makeup, oil, and skincare residue from your lashes. Let them dry fully. A clean base helps the Bond make even contact and gives you more control during placement.
Gently separate your natural lashes with a clean spoolie. Curl them only if your chosen product directions recommend it and the curl helps your natural lashes blend with the clusters.
2. Plan a Simple Lash Map
Lay out the clusters in order before applying Bond. Use shorter lengths near the inner corner, then transition gradually into medium or longer lengths.
- Soft cat-eye: Build from short at the inner corner to longer toward the outer corner.
- Open-eye look: Place the longest length around the center, then taper toward both corners.
- Natural sweep: Increase the length gently without a dramatic jump between clusters.
There is no single perfect map for every eye. Use fewer clusters for light definition and add more only when the placement feels balanced and comfortable.
3. Apply a Thin Layer of Bond
Brush a small amount of Bond onto the base area of your natural lashes, working in one section at a time. Keep the formula off the waterline and avoid coating the lashes heavily. Follow the product directions for how long to wait before placement; the Bond should be ready to hold a cluster without sliding.
Prefer an invisible finish? Consider the clear Bond, Seal & Remover system. Want more definition at the lash line? The black Bond, Seal & Remover system creates a darker base.
4. Pick Up Each Cluster by the Band
Use your applicator to lift one cluster gently from the tray. Hold the cluster at its base instead of pulling on the fibers. This helps preserve its shape and gives you better control.
5. Place the Cluster Under Your Natural Lashes
This guide follows Fulluxy’s under-lash application method. Look slightly downward into your mirror and position the cluster beneath your natural lashes. Place it close to the lash line, but leave a small, comfortable gap from the skin and waterline.
Release the cluster only when the angle looks right. If it pinches, touches the waterline, or feels uncomfortable, remove and reposition it instead of trying to tolerate the placement.
6. Build the Shape One Cluster at a Time
Continue across the lash line in small sections. Keep the bands close enough to create a smooth shape, but do not force them to overlap. Check the look from the front after every few placements so you can correct the map before it becomes too full.
7. Press and Blend
Once the clusters are stable, use a clean applicator to press them gently together with your natural lashes. Work in sections and avoid pinching the eyelid. The goal is an even connection—not maximum pressure.
8. Seal the Finished Look
Apply a light amount of Seal according to the product directions, focusing on the bonded area. Seal helps finish the application and reduce residual tackiness. Let the set settle before touching, brushing, or adding eye makeup around it.
9. Check Both Comfort and Balance
Look straight ahead and compare both eyes. The maps do not need to be mathematically identical, but they should feel visually balanced. Blink a few times. If any cluster scratches, pinches, or sits too close to the waterline, correct it now.
Common Cluster Lash Mistakes to Avoid
- Using too much Bond: A heavy layer can become messy and make precise placement harder.
- Applying on oily lashes: Skincare and makeup residue can interfere with adhesion.
- Skipping the lash map: Choosing lengths as you go often creates abrupt changes in shape.
- Placing bands on the waterline: The clusters should feel comfortable, never sharp or pinching.
- Holding the fibers: Pick clusters up at the band to avoid bending or shedding the shape.
- Adding volume too quickly: Finish a light base first, check the balance, and build only where needed.
- Pulling during removal: Always soften the Bond with a proper remover before sliding the clusters away.
Cluster Lash Aftercare
Your application is finished. Now keep the routine gentle.
- Avoid rubbing, tugging, or sleeping with direct pressure on the lashes.
- Keep oily skincare and makeup removers away from the bonded area unless you are intentionally removing the clusters.
- Follow the Bond & Seal directions before exposing a fresh set to water, steam, or eye makeup.
- Brush only when needed, using a clean tool and very light pressure.
- Remove the clusters if the placement becomes uncomfortable or your eyes show signs of irritation.
Wear time varies with the adhesive, application method, skin type, environment, and aftercare. Comfort and natural-lash care matter more than keeping a set on for a target number of days.
How to Remove Cluster Lashes Gently
- Apply lash remover evenly to the bonded area, keeping the formula out of your eyes.
- Allow the remover to soften the Bond for the amount of time stated in its directions.
- Gently slide the clusters away. Do not pull or peel against resistance.
- If a section does not release, apply more remover and wait again.
- Clean away remaining residue and give your natural lashes a break if they feel stressed or sensitive.
Which Fulluxy Lash Kit Fits Your Look?
Choose by mood. Refine by shape. Make it yours.
| Your Lash Goal | A Fulluxy Starting Point | Why It Works |
|---|---|---|
| Soft everyday definition | Curve DIY Cluster Lash Kit | A naturally curved shape for a softly lifted finish. |
| Warm soft glam | Brown Curve DIY Cluster Lash Kit | Brown definition with a gentler contrast than classic black. |
| Full, dramatic volume | Flare DIY Cluster Lash Kit | A bolder, spiked-tip look with visible dimension. |
| Graphic statement lashes | Tesson DIY Cluster Lash Kit | A sharper, editorial-inspired shape for high-impact looks. |
Cluster Lash FAQs
Do cluster lashes go above or below natural lashes?
Application depends on the product. Fulluxy’s current kit directions describe placing clusters underneath the natural lashes, slightly away from the waterline. Always follow the directions for the Bond and clusters you are using.
How many lash clusters do I need per eye?
It depends on your eye size, cluster width, and desired fullness. Start with a light map and add only where the shape needs more balance. More clusters do not automatically create a better result.
How long do DIY cluster lashes last?
Wear time varies with application, adhesive, skin type, daily habits, and aftercare. Follow your product directions, check the set daily, and remove it if it becomes uncomfortable or begins lifting unevenly.
Are cluster lashes beginner-friendly?
They can be. A complete kit, a simple lash map, and a patient first application make the process easier. Begin with fewer clusters and moderate lengths, then experiment as your placement becomes more consistent.
Should I choose clear or black lash Bond?
Clear Bond suits a softer, more invisible base. Black Bond adds extra definition near the lash line. Choose the finish that best matches your lash color, eyeliner, and overall makeup look.
Make the Look Yours
Natural. Wispy. Plush. Bold. The best cluster lash map is the one that works with your eyes and still feels like you.
Start with a complete Fulluxy lash kit, keep the Bond light, place every cluster with intention, and remove with patience.
Go Full. Feel Luxy.